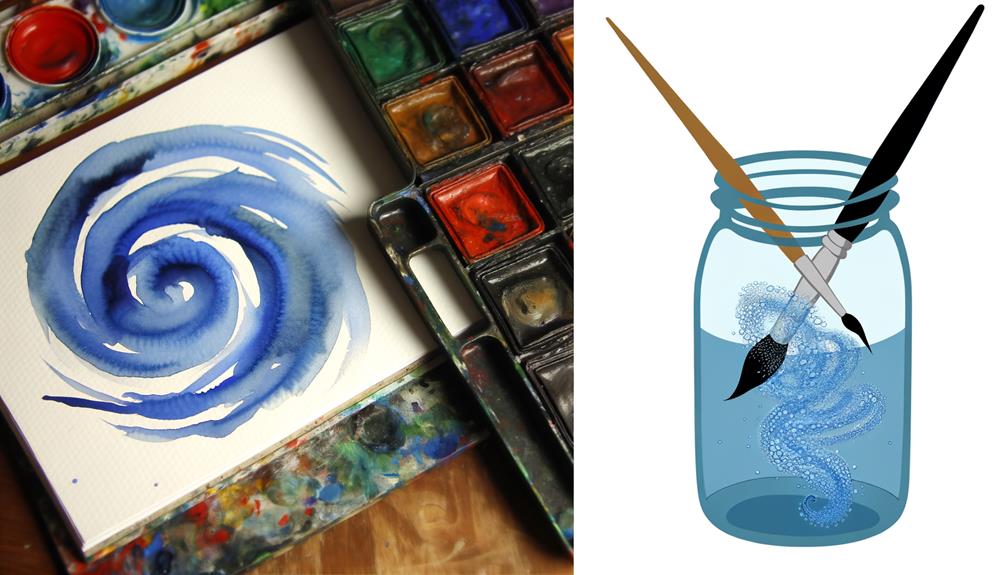
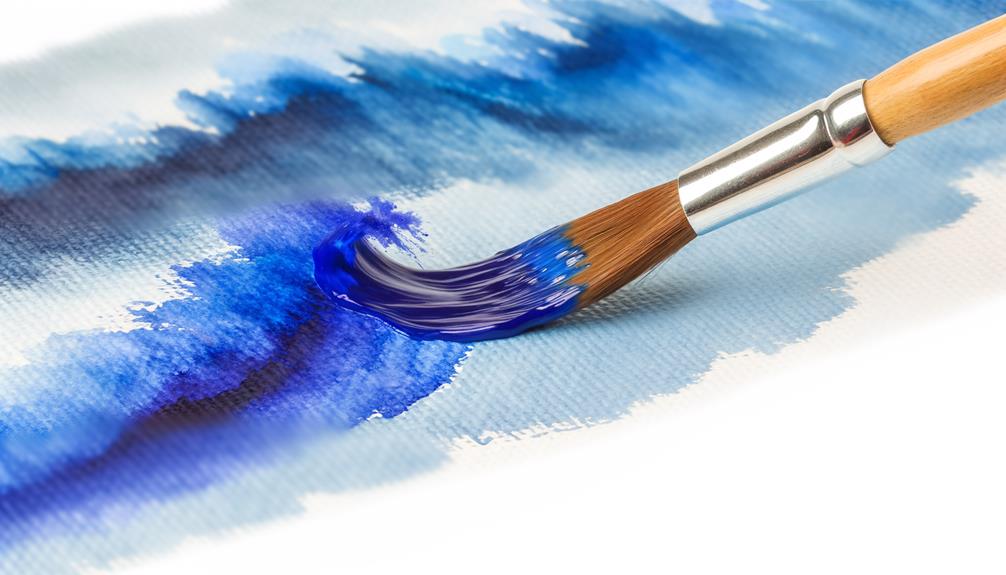
Watercolor painting offers a unique medium for artists to explore their creativity, especially when capturing the fluid and dynamic essence of water. Mastering the art of watercoloring water involves understanding the interplay of color, light, and technique to mimic water’s translucency and movement.
This introduction delves into the foundational skills necessary for artists to accurately represent water in their watercolor paintings. From selecting the right paper and brushes to mastering wet-on-wet and dry brush techniques, we will guide beginners through the essential steps.
We’ll explore various techniques and tricks that you can use to infuse life into the water you paint, whether it’s a tranquil lake or a raging ocean.
By the end of our discussion, you’ll understand why painting water isn’t as impossible as it seems.
Now, shall we dive in, or are you afraid to get your feet wet?
Key Takeaways
- Watercolor paint can effectively capture the unique characteristics of water, such as its transparency, reflections, and surface tension.
- The color choices and techniques used can control the intensity and appearance of water in a painting.
- Different types of brushes, brush materials, and watercolor paper are essential tools for painting water.
- Various techniques, such as washes, reflections, highlights, and texture, can be employed to create realistic and dynamic water scenes.
Understanding Water’s Unique Characteristics
Water is fascinatingly complex, and understanding its behavior is the first step in painting it with authenticity. It has no inherent color but takes on the hues of its surroundings.
This chameleon-like quality makes it a compelling subject. It’s transparent, yet its opacity changes with depth and movement, creating a mesmerizing interplay of light and shadow.
The surface tension of water forms captivating patterns, making it a joy to paint. Ripples, waves, and still water surfaces each have their own own unique appearances, and we’ll learn to capture these step by step.
Moreover, water distorts reflections, twisting and bending them into abstract forms that can add depth and interest to our paintings. The play of light and shadow on water’s surface can be challenging to represent, but with careful observation and practice, we’ll master it together.
Understanding water’s characteristics is our first step towards painting it realistically. With this knowledge, we’re ready to dive into the hands-on techniques.
Necessary Tools for Painting Water
For painting water with watercolors, having the right tools is essential for achieving the desired effects of realism and fluidity. Here’s a list of necessary tools:
- Watercolor Paper: Preferably cold-pressed, 140 lb (300 gsm) or heavier to withstand wet techniques without warping.
- Brushes: A variety of shapes and sizes, including round, flat, and fine-tip for detail work. A mop brush is ideal for large washes.
- Watercolors: High-quality paints in tubes or pans, with a range of blues, greens, and earth tones for natural water shades.
- Palette: For mixing colors and creating custom shades.
- Water Containers: Two containers, one for cleaning brushes and one for mixing colors.
- Paper Towels or Sponge: For dabbing brushes and correcting mistakes.
- Masking Fluid: To preserve white areas and create highlights.
Choosing Right Paintbrushes
When it comes to painting water with watercolors, selecting the right paintbrushes is a critical step, as different brushes such as round, flat, and detail brushes can dramatically influence the effects and precision of your work.
| Brush Type | Use | Effect |
|---|---|---|
| Round | Creating soft ripples and washes | Gentle, flowing |
| Flat | Adding bold strokes and reflections | Distinct, bold |
| Detail | Finer details e.g., tree reflections, glistening highlights | Precision, focus |
Make sure to consider the size of the brush in relation to the scale of your scene. Experiment with different materials like synthetic or natural hair to find the right texture and water-holding capacity. The choice of brush can make or break your painting, so take time to choose wisely.
Understanding Watercolor Techniques
Diving into the world of watercolor techniques, it’s essential to understand the necessary tools and methods for effectively painting water. From selecting the perfect shades of French Ultramarine or Cobalt Blue for soft ripples, to applying quick brush strokes for a lively effect, we’re here to guide you.
Creating a graduated wash with wide bands of color can give your painting perspective. Incorporating tree reflections adds a touch of realism. Add an earthy bank with washes of yellow ochre and burnt umber. For a final touch, glistening highlights can be added with a scalpel, and splattering creates texture.
Basics of Color Mixing for Water

In mastering the art of watercolor painting, understanding the basics of color mixing, particularly for water, is a crucial step. It’s not about using a lot of paint, but rather, achieving the right mix.
What’s exciting about painting water is that it doesn’t have an inherent color, but rather, reflects the colors around it.
Mixing French ultramarine or Cobalt Blue, for instance, can give you soft, subtle ripples. It’s important to remember that the intensity or softness of your water’s appearance can be controlled by your color choices and how you apply your paint. A wide band of color, for example, can create a graduated wash effect, giving your water perspective and depth.
In addition, using French Ultramarine can help you create defined ripples and reflections. Quick brush strokes can bring liveliness to your water, making it appear as if it’s in motion.
This is just the beginning of your color-mixing journey. We encourage you to explore and experiment with different color combinations and techniques. Remember, it’s not just about following rules, but also about creating your own unique interpretation of the world around you.
Techniques for Painting Still Water
Painting still water with watercolors requires a mix of precision and subtlety to capture its tranquility and reflective qualities. Here are key techniques:
- Wet-on-Wet Technique: Apply a wet brush to wet paper to create soft, diffuse reflections. This mimics the gentle undulations on the water’s surface.
- Graded Wash: Use a graded wash to represent the depth and transparency of water, gradually transitioning from dark to light tones.
- Glazing: Apply thin, transparent layers of color to build depth and luminosity without losing the underlying washes.
- Dry Brush Technique: Gently drag a nearly dry brush over the paper to create the illusion of ripples and texture on the water’s surface.
- Reflections: Mirror the colors of the sky, foliage, or objects around the water, subtly altering them to suggest movement and depth.
- Lifting Off: Dab a clean, damp brush or paper towel to lift off paint, creating highlights or the illusion of light dancing on the water.
Employing these techniques allows artists to effectively convey the serene and reflective nature of still water in their watercolor paintings
Capturing Motion in Water

Capturing the lively motion of water in a painting, we often use quick brush strokes, adding a sense of movement with strong color bands for waves. This technique infuses dynamic energy and brings the water to life, making you feel like you’re right there, breathing in the salty air.
We also like to soften hard edges and lift out highlights, requiring just a little bit of clean water and tissue. This technique adds a more dynamic effect, making the water seem as though it’s in constant motion, flowing and ebbing in the painting.
To add depth, we experiment with adding glistening highlights with a scalpel and splattering for texture. These finishing touches enhance the sense of motion, making the water appear more realistic.
Here’s a summary of the techniques we use:
| Technique | Effect |
|---|---|
| Quick brush strokes | Adds sense of movement |
| Bands of strong color | Creates waves |
| Softening edges and lifting highlights | Adds dynamism |
| Glistening highlights and splattering | Adds texture |
Tips for Mastering Water Reflections
Often, we find mastering the art of water reflections to be a game of subtlety and finesse, requiring a careful balance of color, technique, and keen observation. It’s important to remember that water has no color of its own; it simply reflects the hues around it.
We can use soft, subtle ripples with French Ultramarine or Cobalt Blue for a realistic effect. This little trick mirrors the sky, infusing our canvas with life and authenticity.
Quick brush strokes are another tool in our arsenal for creating lively water reflections. With a swift flick of the wrist, we can capture the fleeting dance of light on water, a mesmerizing spectacle of nature.
Adding glistening highlights and texture with a scalpel and splattering technique can bring a touch of magic to our watercolor paintings.
Matching tree reflections with ripple shapes is a crucial step to enhance the natural look of the water. This requires a sharp eye for detail and a keen understanding of nature’s patterns.
Each ripple, and each reflection plays a pivotal role in crafting a believable water scene. We’re not just recreating a visual reality; we’re inviting viewers to feel a sense of belonging to our art.
Conclusion
Just like a river meandering through a landscape, our journey with watercolors has been full of twists and turns. Through understanding water’s nuances, mixing colors, and mastering reflections, we’ve learned to capture its essence on paper.
Practice is our bridge to perfection, so let’s keep our brushes dancing, creating ripples and reflections.
Like water, let’s reflect the world around us with our art, adding depth, dimension, and life to our canvas.
