Chalk paint has revolutionized the world of DIY furniture restoration and home decor. Its matte, shabby-chic finish, along with its forgiving application process, has made it a favorite among crafters and interior enthusiasts alike.
In this comprehensive guide, we’ll take you on a journey through the art of waxing chalk-painted surfaces.
Waxing isn’t just about protection; it’s about elevating your creations to a new level of beauty and durability. So, if you’re ready to add that perfect finishing touch to your chalk paint projects, read on, and let’s delve into the world of wax and wonder!
Gathering Your Supplies
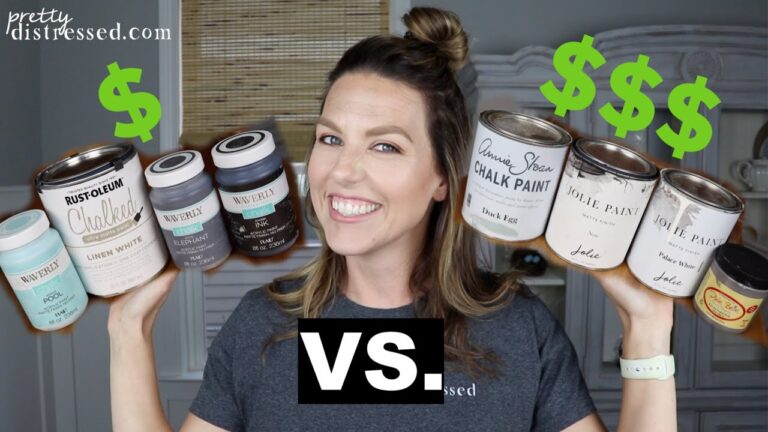
- Chalk paint: Choose a high-quality chalk paint in the color of your choice. Brands like Annie Sloan, Rust-Oleum, and FolkArt offer a wide range of colors.
- Wax (clear and/or colored): You’ll need clear wax to seal and protect the paint. Colored waxes, such as dark or white wax, can be used for decorative effects.
- Paintbrushes: Opt for brushes with natural bristles for applying chalk paint. The size of the brush can vary depending on the project’s scale.
- Lint-free cloths: These are essential for buffing the wax to a smooth finish without leaving behind fibers.
- Sandpaper (optional): If you intend to distress your piece or smooth out imperfections, have sandpaper with varying grits on hand.
- Wax brush or applicator (optional): While not mandatory, a wax brush or applicator can make applying wax more efficient and even.
Investing in high-quality supplies is crucial for achieving professional-looking results. Cheap brushes may leave bristle marks or streaks, while low-quality paint might not cover well or hold up over time.
Quality wax is also essential for durability and the desired finish. It’s worth spending a bit more on reputable brands to ensure your project turns out beautifully.
Preparing Your Chalk-Painted Surface
Ensuring the paint is completely dry
Before waxing, it’s imperative to allow the chalk paint to dry thoroughly. The drying time can vary depending on factors like temperature and humidity, but it typically takes 24 to 48 hours. Applying wax to damp or tacky paint can result in uneven coverage and potential damage to your project.
Cleaning the surface
Before waxing, clean the surface to remove any dust, dirt, or residue. Use a damp lint-free cloth to wipe down the piece, ensuring a smooth and clean canvas for the wax.
Optional: Sanding for distressing effects
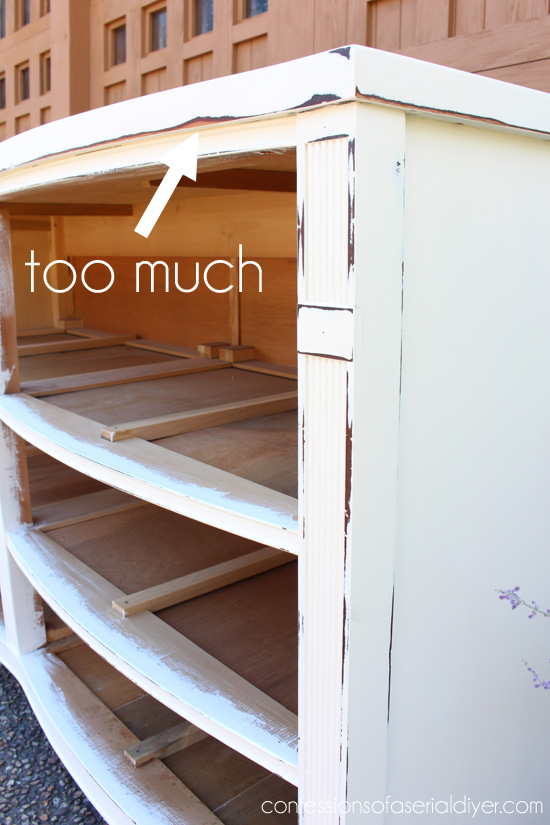
Sanding is an option if you want to create a distressed look or smooth out any imperfections. Use sandpaper with a medium grit (around 120-150) for light distressing and a finer grit (around 220) for a smoother finish. Focus on edges, corners, and areas where natural wear would occur.

Applying Clear Wax
Choosing between clear and colored wax
Clear wax is the foundational step in sealing and protecting your chalk-painted piece. It provides a neutral base for additional decorative wax or can be used alone for a matte finish. Colored waxes, on the other hand, are typically used to impart color or age to the piece.
How to use a wax brush or applicator
While you can apply wax with a lint-free cloth, using a wax brush or applicator can yield smoother results. These tools are designed to evenly distribute the wax and minimize streaks or brush marks. Dip your brush or applicator lightly into the wax to avoid excessive application.
Applying wax in small sections
Work on your project in small, manageable sections. This allows you to focus on one area at a time, ensuring even coverage and preventing the wax from drying before you have a chance to buff it.
Spreading and buffing the wax
Work the clear wax into the chalk paint using a circular motion when applying it. Ensure that the wax is spread evenly and thinly. After applying the wax, use a clean lint-free cloth to buff the surface. The buffing process helps distribute the wax evenly and removes any excess, leaving a smooth, satin-like finish.
Tips For Achieving A Smooth Finish
- Use a light touch when applying wax to avoid applying too much.
- Buff in circular motions for even coverage and a consistent sheen.
- If the wax becomes tacky while buffing, apply a small amount of wax and continue buffing.
Applying Colored Wax (if desired)
When and why to use colored wax
Colored wax can be used to add character and depth to your piece. It’s often employed for achieving specific looks, such as antiquing, weathering, or creating a vintage appearance.
Selecting the right color for your project
When choosing colored wax, consider the overall look you want to achieve. For instance, dark wax can create an aged or antique appearance, while white or gray wax can provide a weathered or coastal vibe. Select a color that complements your chalk paint.
Applying colored wax over clear wax
After your clear wax has dried (usually overnight), you can start applying colored wax. Use a lint-free cloth or a separate wax brush to apply the colored wax to specific areas or edges of your piece. Blending is key to achieving a natural and appealing effect. You can always add more colored wax, so start with a light touch and build up as needed.
Blending and achieving the desired effect
Work on small sections at a time, blending the colored wax into the clear wax and the chalk paint. Experiment with different techniques to achieve the desired look. For instance, for an antique effect, apply dark wax to crevices and corners and then blend it outwards.
Buffing and Polishing
Waiting for the wax to dry
After applying colored wax, allow your project to dry for at least 24 hours. Wax needs time to cure, and rushing this step can result in a less durable finish.
Buffing with a clean, lint-free cloth
Once the wax has fully dried, buff the surface with a clean, lint-free cloth. Use circular motions and moderate pressure to bring out the desired level of sheen. The more you buff, the shinier the finish will become.
Achieving the desired level of sheen
The level of sheen can vary from matte to satin to a subtle shine, depending on your preference and the amount of buffing you do. Adjust your buffing accordingly to achieve the finish you desire.
Caring for Your Waxed Chalk-Painted Piece
How to clean waxed furniture
Maintaining waxed furniture is relatively easy. Use a mild, non-abrasive soap and water solution to clean the surface. Avoid harsh chemicals, as they can strip the wax and potentially damage the paint. Always use coasters and placemats to protect the surface from heat, moisture, and spills.
Maintenance tips for preserving the finish
To keep your waxed finish looking its best over time, periodically apply a thin coat of clear wax and buff the surface. This maintenance step not only refreshes the wax but also provides additional protection against wear and tear.
What to avoid to prevent damage
To ensure the longevity of your waxed chalk-painted furniture, avoid placing hot items directly on the surface, as heat can melt or soften the wax. Similarly, avoid leaving wet or damp items on the surface for extended periods, as moisture can damage both the paint and the wax.
Troubleshooting Common Issues
Addressing streaks or uneven application
If you notice streaks or uneven application after the wax has dried, don’t worry. Apply a bit more clear wax to the affected area and buff again. The additional wax will help even out the finish.
Fixing excess wax buildup
If you accidentally apply too much wax and the surface appears cloudy or feels sticky, use a clean, lint-free cloth to wipe off the excess. Then, buff the surface again to restore a smooth finish.
Repairing scratches or imperfections
For minor scratches or imperfections that may occur over time, touch up the affected area with a small amount of chalk paint. Once the paint is dry, reapply a thin layer of clear wax and buff it to blend with the surrounding area
Bottom Line
The art of waxing chalk-painted surfaces is not just a finishing touch; it’s a transformative process that elevates your DIY projects to a level of beauty and durability that’s truly remarkable.
Through this guide, we’ve unlocked the secrets to achieving that coveted matte yet lustrous finish, and we’ve armed you with the knowledge to troubleshoot common issues along the way.
Wax can be your creative partner, allowing you to craft unique, personalized pieces that tell a story through texture and color. So don’t be afraid to get creative, blend colors, and try new techniques to achieve the look you desire.
Related Posts